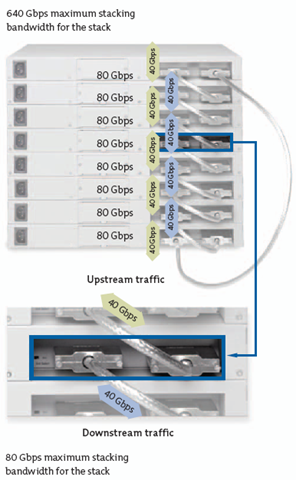
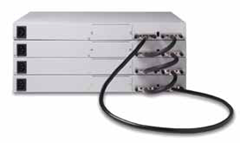
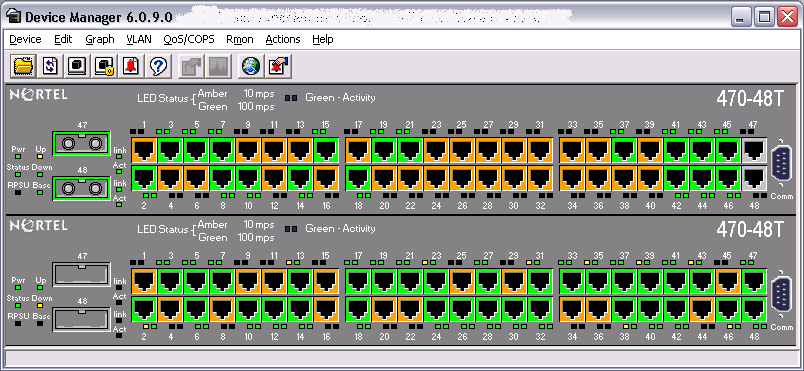
I was recently asked “How to cascade a stack of Nortel switches?”. I thought that’s a pretty easy question but probably one that hasn’t been covered well by the manuals or other material. In short you just need to physically connect the switches using the supplied cascade/stack cables. On the back of each switch you’ll find a selector switch with two options, “Base” and “non-Base”. Only one switch in the stack can be set to Base and I generally set the topmost switch (physically looking at the stack) to the Base switch. That’s really all there is to it, the software will detect the presence of the cascade/stack cables and the switches will each join the stack, numbering themselves as “Unit 1 – Base”, “Unit 2”, “Unit 3”, and so on. The ports will then be referenced as 1/1, 2/1, 3/1, etc.
There are of course some caveats, aren’t there always caveats!. You can only stack specific switches with themselves. For instance you can only stack a Nortel Ethernet Routing Switch 5500 series switch (5510, 5520, 5530) with anther Nortel Ethernet Routing Switch 5500 series. You can’t stack a Nortel Ethernet Routing Switch 4500 series with a Nortel Ethernet Routing Switch 5500 series. The stack cables are very different so it shouldn’t be too hard to figure out. The switches must have the same software version of code on them in order to stack properly. The newer Ethernet Routing Switch 4500/5500 series switches will try to automatically upgrade any switch that is added to the stack and isn’t running the appropriate software version.
You can cascade/stack older Ethernet Switch 450, Ethernet Switch 460 and Ethernet Switch 470 switches. I would not advise stacking the Ethernet Switch 450 with either the ES460 or ES470 even though Nortel claims you can. There’s no issue stacking a Nortel Ethernet Switch 460 with the Ethernet Switch 470.
Cheers!


