 This is a follow-up post to my wildly popular article entitled, Nortel ERS 5520 PwR Switch which I posted back in October 2007 providing a working configuration for an Avaya Ethernet Routing Switch 5520 for IP telephony deployments.
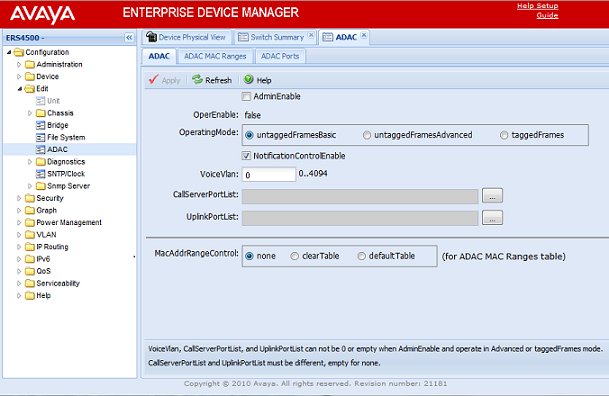
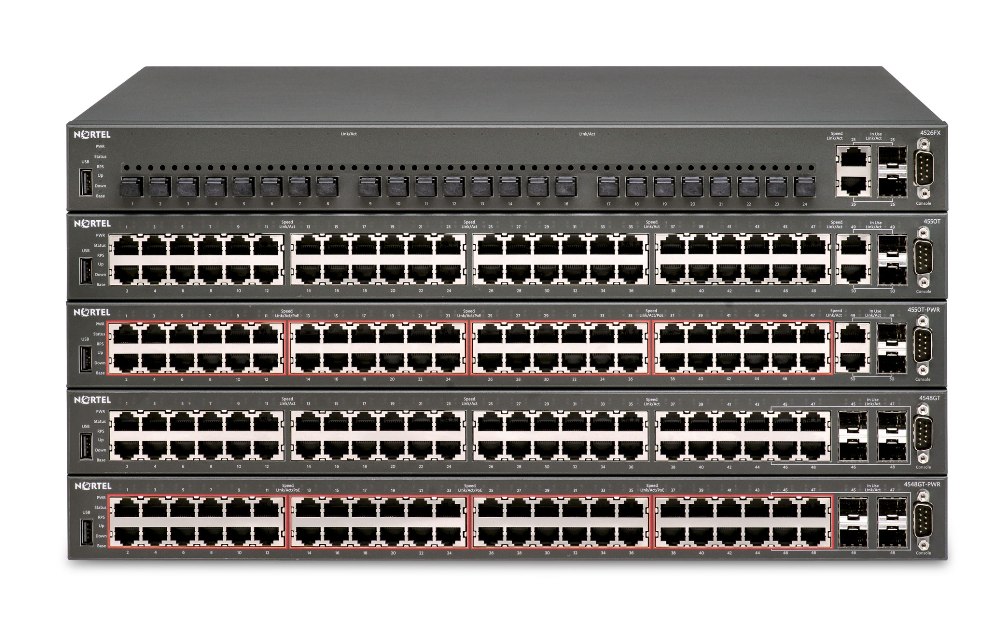
Here’s the configuration template that I’m currently using today for the Avaya Ethernet Routing Switch 5500, 4800 and 4500 series switches. This is essentially a best practices configuration for a typical closet/edge switch (Layer 2) with ADAC/LLDP-MED for completely automated, zero-touch IP telephony deployments.
With the firmware that currently ships with the Avaya 1100 and 1200 series IP phones you only need to unbox the phone and connect it to the network. You’ll also need to make sure that you have your provisioning files setup properly but you can easily attain a zero-touch configuration for greenfield deployments.
Please note there are a some options in this post which are only available in the later software releases for each switch model. These commands were tested on an Avaya Ethernet Routing Switch 4850GT-PWR+ running 5.6.2 software.
We need to be in privileged mode before we can enter configuration mode;
enable
configure terminal
Let’s start by setting the read-only and read-write passwords (the default usernames are RO=read-only and RW=read-write)
cli password read-only ropassword
cli password read-write rwpassword
cli password serial local
cli password telnet local
If you don’t care to see the banner when connecting via telnet then disable it;
banner disable
If you are working with an Avaya Ethernet Routing Switch 5000 series switch let’s disable the UI button on the outside of the switch. This feature is only available on the ERS 5000 series switches so this command won’t work with the ERS 4000 series switches.
no ui-button enable
Let’s set VLAN control to autopvid, this will instruct the switch to change the PVID to the VLAN assigned to the port for access (UntagAll) ports.
vlan configcontrol autopvid
If we have 2 or more switches in a stack configuration we’ll utilizing ports on both switches for our uplinks, 1/48 and 2/48. If we only had a single switch and not a stack of switches we would use 47 and 48. We need to enable 802.1Q trunking (TagAll) and filter (drop) and untagged frames that might accidentally be sent across the port.
vlan ports 1/48,2/48 tagging enable
vlan ports 1/48,2/48 filter-untagged-frame enable
As a best practice you should never use VLAN 1, too many reasons to list here. By default ever port is a member of VLAN 1 so let’s remove VLAN 1 from all ports;
vlan members remove 1 ALL
Let’s create a management VLAN and add that VLAN to our 802.1Q uplinks;
vlan create 200 name "10-107-255-0/24" type port
vlan members add 200 1/48,2/48
Let’s create a (default) closet VLAN and add that VLAN to all the ports in the stack;
vlan create 10 name "ICR1_1stFloor" type port
vlan members add 10 1/ALL,2/ALL
Let’s create a voice VLAN which we’ll using in our ADAC and LLDP-MED configurations and we’ll add that VLAN to our uplinks;
vlan create 11 name "Voice" type port voice-vlan
vlan members add 11 1/48,2/48


 Avaya has released software 5.5 for the Ethernet Routing Switch 4500 series switch.